On this page
- Determine the Purpose of the Knife
- Selecting the Right Blade Profile
- Understanding Tangs and Handle Construction
- Designing a Comfortable Handle
- The "Keep It Simple" Principle
- Drawing Out Your First Knife
- Preparing for the Build
This is Lesson 3 in our Bladesmithing 101 series. My main goal with these lessons is simple: I have already made all the painful, frustrating mistakes so you do not have to. Today, we are going to explore a topic that happens long before the anvil rings or the grinder sparks. We are talking about planning. If you are new to the craft and want formal education paths, the American Bladesmith Society is a great place to start.
When I say planning, you might picture that classic scene in The Dirty Dozen where Lee Marvin pulls out a big stick, points at a model castle, and numbers off every single tactical step. My shop is a lot like that — except I do not have a pointing stick, I definitely do not have a model castle, and I am certainly not Lee Marvin. But planning is an incredibly crucial step in the bladesmithing process. You never want to go into a knife build half-cocked.
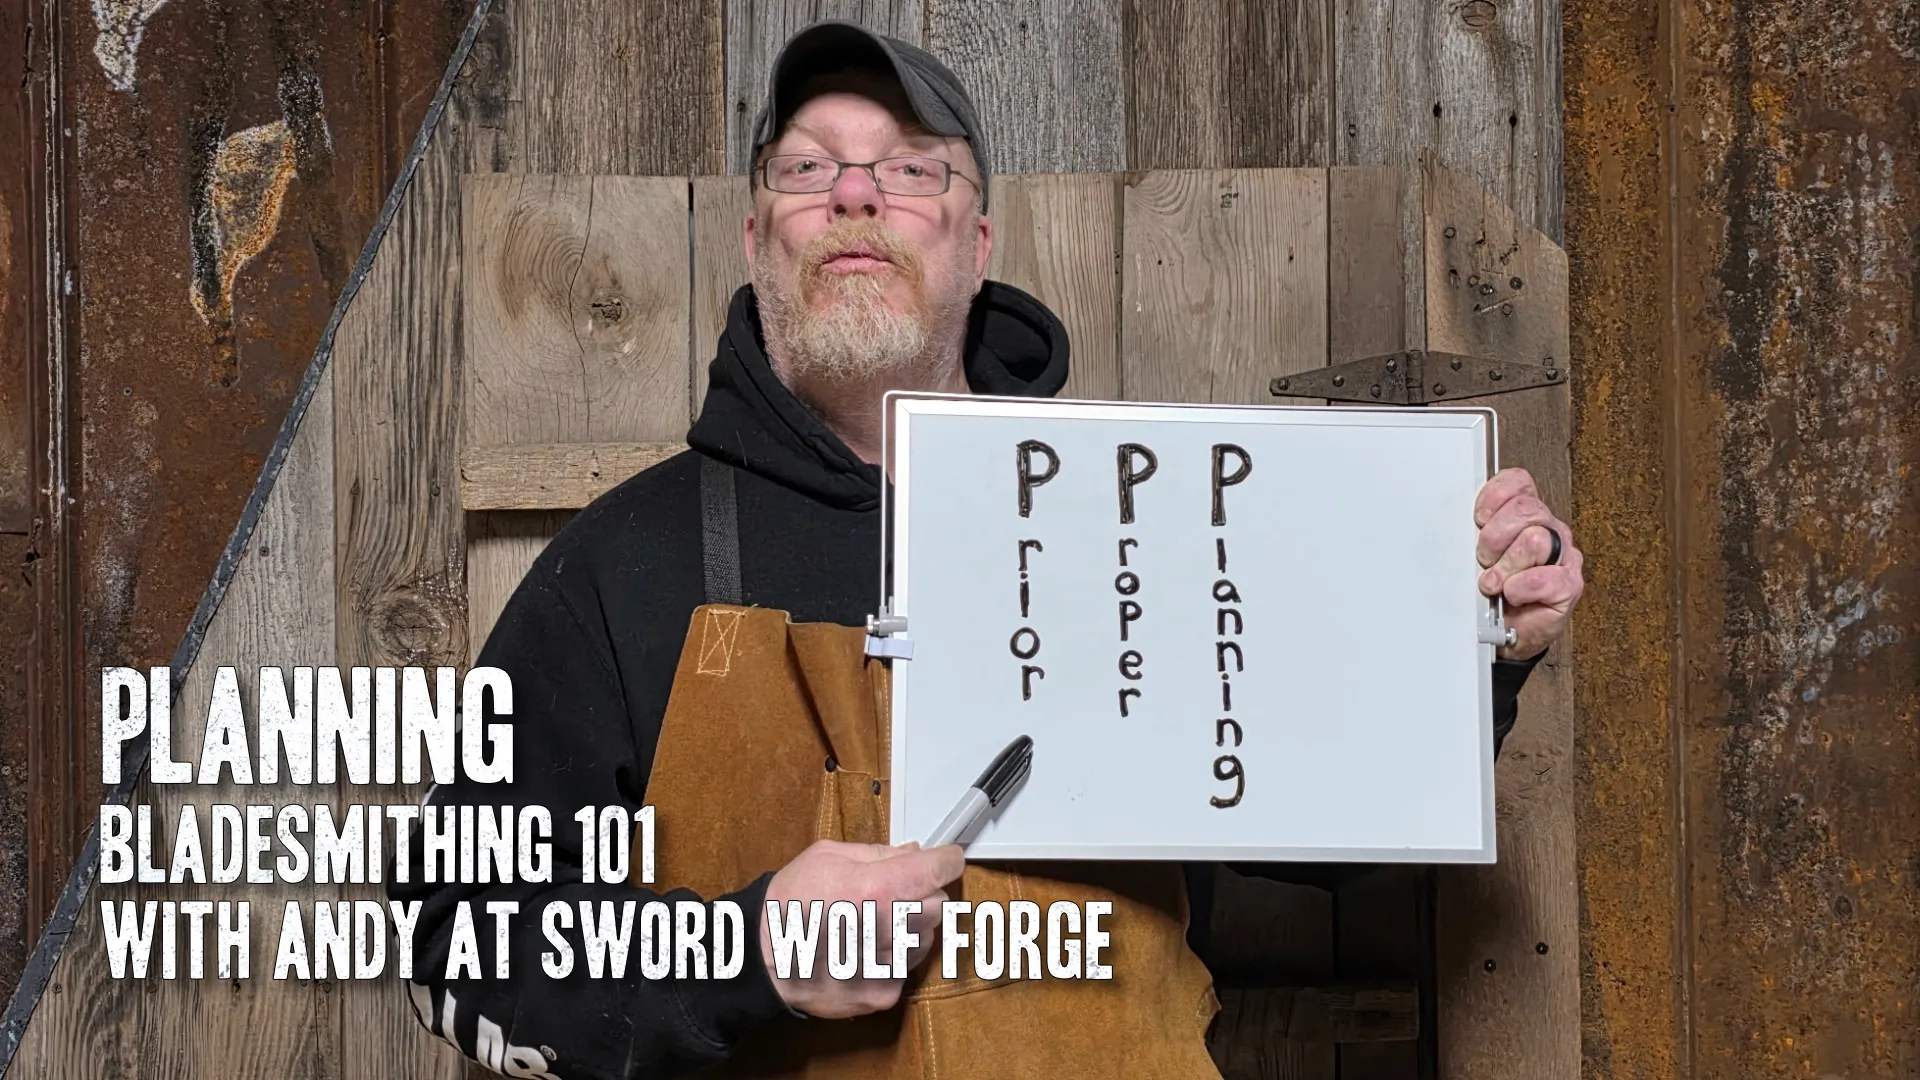
There is an old saying I learned back in the military: prior proper planning prevents piss-poor performance. That rugged piece of wisdom applies to just about anything in life, but it is especially true when working with high-carbon steel. I do not care what your skill level is — every single bladesmith goes through a planning phase. It will take you a bit longer right now because you have never done it before. Eventually, this process builds muscle memory, allowing you to settle into a creative routine and speed up your workflow the next time you step into the shop.
Determine the Purpose of the Knife
The very first question you must ask yourself when entering the design phase is what this knife is going to be used for. Is it going to be a dedicated hunting knife, a daily kitchen tool, or a rugged camp chopper? Determining the core function immediately guides how you design the overall profile.
You have likely heard the term "pick the right tool for the right job." That absolutely applies to custom knives. In my shop, I have a wide variety of completed blades in drastically different styles, shapes, and sizes. While they are all technically knives, each one was engineered for a very specific task.
For example, I would never take a thin, delicate chef's knife into the woods to clear thick brush. Conversely, a heavy, forward-weighted chopper is optimal for hacking through tree limbs, but it would be utterly useless for delicately skinning a rabbit. Whether you are making this first blade for yourself or for a future customer, clearly define its intended job before you do anything else. That single decision narrows your options and speeds up everything that follows. If you want real-world reference points for profiles and finishes, browse the Showcase.
Selecting the Right Blade Profile
There are countless blade profiles out there, but some are incredibly common and easily recognizable. Just by looking at the silhouette of a knife, you can almost instantly tell what it was designed to do.
Take a traditional dagger. With its symmetrical double edge and needle-like point, it is engineered almost entirely for piercing. Hunting knives, on the other hand, typically feature straight backs or drop point profiles. These shapes provide a strong, sweeping belly near the tip that is perfect for slicing and field dressing.
When you sit down with your pencil and paper, keep the silhouette in mind. Your blade profile must match the job you assigned it in the previous step.
Understanding Tangs and Handle Construction
The next major structural element to consider is the tang. And no, I am not talking about the orange powdered drink that astronauts take to space. The tang is the physical portion of the blade steel that extends backward, allowing you to permanently mount handle material. There are several different styles, and each comes with its own unique challenges.
Full tang is the most common style. The steel profile runs the exact same size and shape as the finished handle. When the knife is fully assembled, you can clearly see the spine of the steel sandwiched between your wood or synthetic scales. Full tangs are significantly stronger — you have a solid, uninterrupted piece of thick steel absorbing shock and supporting the blade. They are also much easier to construct, which is exactly why I highly recommend beginners start with a full tang project. The only real downside is added weight, which makers often address by drilling holes or grinding grooves into the tang steel under the handle scales.
Hidden tang construction involves cutting the steel extending into the handle much thinner and shorter. It does not run the full length or width of the handle material. Instead, it hides inside a hollowed-out block of wood or resin. This approach makes it easier to install a metal finger guard and results in a lighter knife, but it does not offer the same rugged structural support. Creating that cavity requires precise fitting and is highly labor-intensive — save this method for after you have a bit more experience.
Through tang is a variation where a thin steel rod extends entirely through the handle material, poking out the back end. A threaded pommel nut or peened cap compresses the entire assembly together. These are beautiful and allow for intricate craftsmanship, but they are highly complicated and not intended for a beginner's first project.
Designing a Comfortable Handle
Up until this point, we have primarily focused on the blade. But the handle makes up at least fifty percent of the knife. This is where you have physical contact with your tool. Your knife is meant to cut material, not hurt your own hand, so comfort and usability must be at the forefront of your design.
Handle shapes change depending on the job. A kitchen knife handle is generally slim, smooth, and designed for precise finesse. A rugged chopper or heavy camp knife needs a handle that accommodates your entire grip securely, even if your hands are wet or muddy.
The average width of a human hand is roughly four to four and a half inches. Make sure your handle length easily accommodates that measurement. You also want features that provide index points and prevent slipping: a gentle finger notch near the front, a swell in the middle of the palm, or a pronounced beak at the butt of the knife to stop the blade from flying out during a swing.
When sketching your design, think about how the knife feels in multiple grips. You will not always hold it in a standard forward grip — sometimes you will choke up on the blade, use a reverse grip, or rest your thumb on the spine. Make sure there are no sharp angles or "hot spots" that will dig into the user's flesh. I have watched people at knife shows pick up a beautiful blade, realize the handle feels terrible, and immediately put it back down. A comfortable, secure fit is just as important as the sharpness of the edge.
The "Keep It Simple" Principle
Before you start drawing, we need to address a common beginner pitfall. If you grew up in the eighties or nineties like I did, you definitely watched Rambo. That massive survival knife inspired an entire generation to pick up a hammer. It is an undeniably cool piece of movie history, but at the end of the day, it is essentially aggressive art. Despite getting requests for them constantly, I have made exactly zero Rambo knives in my career.
When you are a beginner, you must abide by the golden rule: keep it simple. You want to set yourself up for absolute success, not a frustrating failure. By keeping your first design simple, you will develop strong foundational habits, achieve better finishing results, and be much happier with your craft. Complex saw teeth, hollow handles, and massive guards can wait.
Drawing Out Your First Knife
I have already prepared a basic blueprint to walk you through this. We are going to map out overall dimensions first. For our upcoming project, we are aiming for an overall length of seven and a half inches: four inches of blade and three and a half inches of handle. The height from spine to edge will be roughly an inch and a half.
Grab a piece of paper and use a ruler to mark out those exact boundaries. This gives you a physical box to draw within. Sketch your profile inside it, and if the proportions look strange, erase and adjust. Once you have a shape that looks dead-on, cut that paper profile out with scissors. You now have a physical template you can lay directly onto your steel.
I highly recommend starting with a simple, straight-spined drop point or a basic hunter profile. The beauty of a clean, simple design is its versatility. Once you master a basic template, you can alter it slightly to create entirely new knives: angle the tip for a clip point, grind a false edge on top, add a thumb ramp on the spine, or stretch the handle. You can base almost your entire early catalog off one solid drawing. That makes learning the craft vastly easier than going back to a blank page every time.
Preparing for the Build
In the next lesson, we are going to take all of this planning theory and finally apply it in the shop to create a real knife.
If you want to build along with me, gather a few specific items now. First, acquire a piece of high-carbon steel — I will be using a piece that is 3/16 of an inch thick, 1.5 inches wide, and roughly 8 inches long.
For this project, we are focusing on the stock removal method rather than forging. You will need something to cut the steel profile out. I typically use an angle grinder with a cutoff wheel to rough in the edges before taking it to the belt sander for refinement. Make sure your angle grinder is ready to go.
You will also need a center punch and a hammer to mark your handle pin locations before drilling. A drill press is highly preferred over a hand drill — you need those pin holes perfectly straight through the tang. Drilling at an angle will completely throw off your handle fitment. Have a sharp 3/16-inch metal drill bit ready to match your handle pins.
Finally, even though we are doing stock removal, keep your forge and anvil nearby. Flat bar stock sometimes arrives from the supplier with a slight warp or bend. You must address and flatten that before grinding bevels or attempting a heat treat. If you want a deeper technical dive into steel performance and heat-treat tradeoffs, Knife Steel Nerds is a solid reference.
We have covered a lot of ground today: profiles, handle ergonomics, tang structures, and why keeping things simple is a genuine advantage. There are entire books dedicated to knife design, but my goal is to strip away the noise and make this highly approachable for a beginner. As you build, all of this theory will start clicking into place.
If you have questions about the design process or want feedback on a sketch, drop a comment below. If you are looking to commission a custom knife inspired by one of these ideas, send details through the contact form. And if you missed the earlier lessons, start from the beginning:
- Lesson 1: The Essential Tools You Need to Start Bladesmithing
- Lesson 2: The Best Steels for New Bladesmiths
To follow along with the full series and see these builds in action, subscribe to our YouTube channel.